Installation
Requirements
Persistent Asset supports Unity 6.0 to 6.6, and is verified on every minor release in that range.
Desktop, mobile and WebGL run every manager but Steam Cloud, which is desktop only. A server or cloud manager also works on a console, while saving to the console's own storage needs a small persistence manager of your own. For more information, refer to Consoles.
Install the package
To add Persistent Asset to your project:
- Go to Window > Package Manager.
- Select the My Assets tab, then select Persistent Asset.
- Select Download, then select Import.
Unity imports the package into Assets/Persistent Asset. To create your first save, refer to
the Quick Usage Guide.
Run the demo
The demo is a small game that saves its own progress. To run it, open [PA 0] Demo_MainMenu and enter Play mode. Make some progress, exit Play mode, then enter Play mode again: your progress comes back.
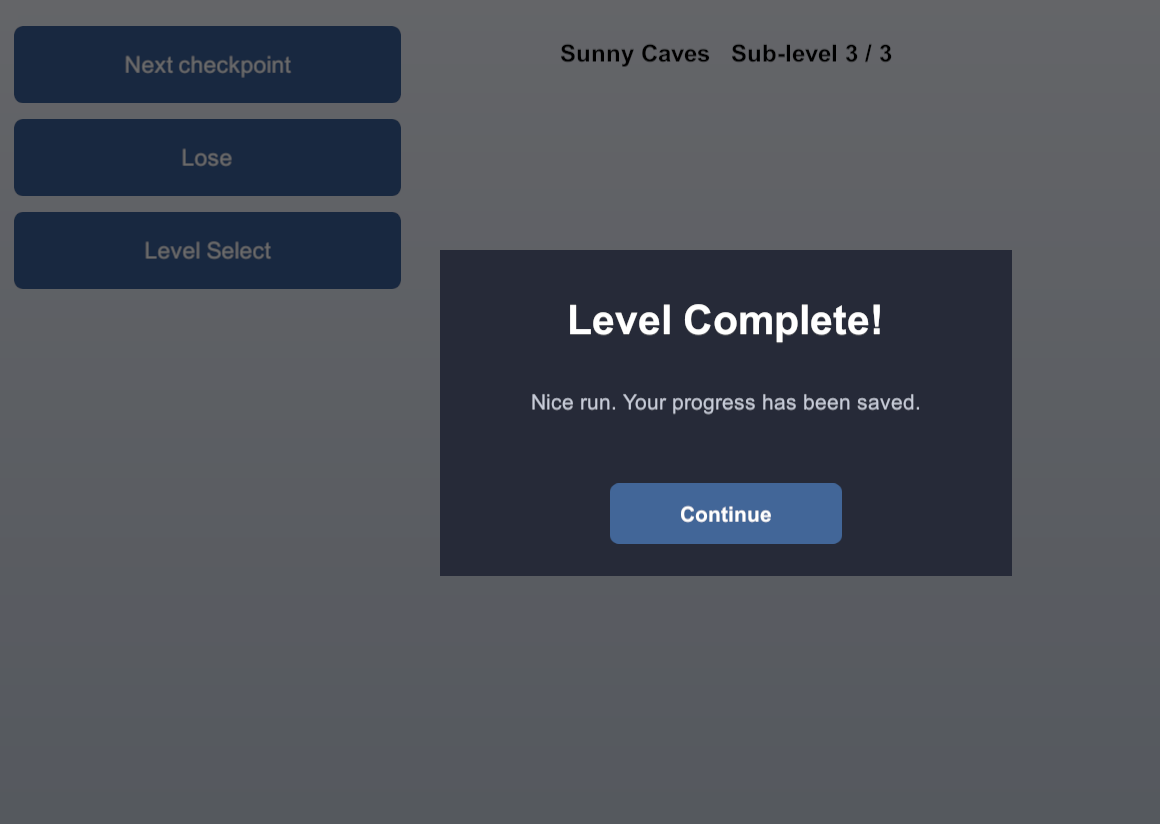
The demo's achievements save to a bundled mock server that you start from an on-screen overlay, so the demo opens offline until you start it.
Optional modules
An optional module compiles only once its dependency is in the project.
| Module | Requirement |
|---|---|
| Cloud Save (UGS) | The com.unity.services.cloudsave package. |
| Steam Cloud | The com.rlabrecque.steamworks.net package. Steam Auto-Cloud doesn't need it. |
| No-Code Input | The com.unity.inputsystem package, for persistable input bindings. |
| No-Code Localization | The com.unity.localization package, for a persistable selected locale. |
| Newtonsoft serializer | The com.unity.nuget.newtonsoft-json package. |
| Odin serializer | Odin Inspector, or the free standalone Odin Serializer. |
| MemoryPack serializer | The com.cysharp.memorypack package and the MemoryPack NuGet libraries. |
| Unity UI (uGUI) | The com.unity.ugui package, for the sample game, the UI codecs and the uGUI menu entries. Saving itself works without it. |
Package contents
Persistent Asset installs under Assets/Persistent Asset, with one folder per module.
Demo folder before you ship.
Its achievement assets are global, so a build made with the folder in the project ships them.The package also installs AI assistant instructions under
Assets/Persistent Asset/AI/Skills, one SKILL.md per job, so an AI assistant
working in your project uses the package the way it is meant to be used. Delete the folder to leave them
out.
Project settings
To open the package's settings, go to Project Settings > Persistent Asset.
ProjectSettings folder, which source control usually covers already, so most projects have
nothing to do here. If yours leaves that folder out, commit
PersistentAssetSettings.asset, PersistentAssetBinderLinks.json and
PersistentAssetSceneObjectAssets.json, so every machine that builds has the same ones.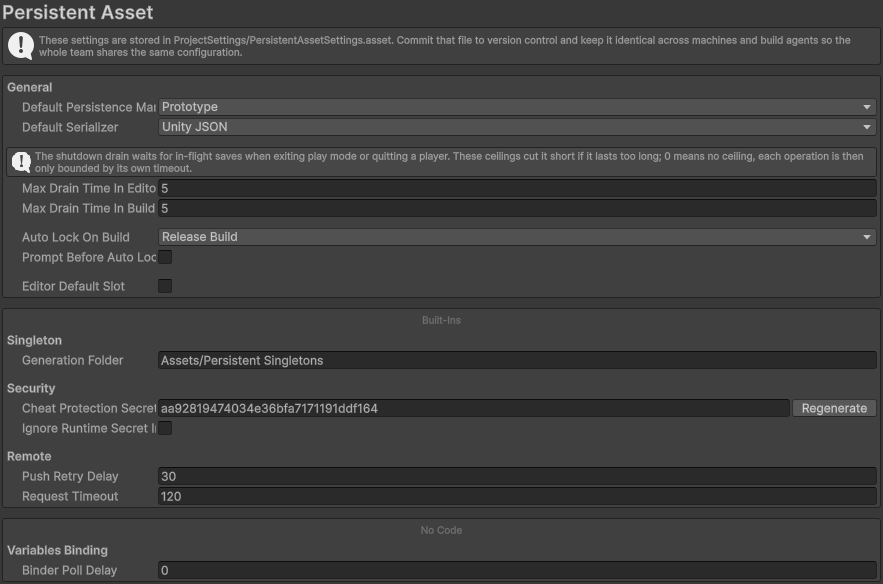
Tools menu reference
The package adds the following entries under Tools > Persistent Asset.
| Menu item | Description |
|---|---|
| Save Overview | Lists every persistent asset in the project. For more information, refer to Across the whole project. |
| Asset References | Lists the project assets a save can point at. For more information, refer to Register an asset. |
| Prefs Asset | Selects the project's one Prefs asset, and creates it first if there is none. |
| Actions | Holds Delete Local Data, Lock All Persistence Managers and Clear Orphaned Locks. |
| Quick Usage Guide / User Manual / Public API | Opens the three documentation books offline, from the package folder. |